

A new olive wood spoon feels lovely in the hand and slightly thirsty. Run your thumb along the bowl and you will often find a pale, dry, almost chalky surface — the wood letting you know it has never been fed. Seasoning, which simply means oiling the wood so it soaks up a protective layer, is the most useful thing you can do for a utensil you plan to cook with for years. It takes about ten minutes, needs no special equipment and no particular skill. The difference it makes is the difference between a spoon that lasts a decade and one that splits along the grain within a few months.
Why olive wood needs oiling
Wood is a bundle of tiny tubes. Each one carried water up the tree, and each one is still open at the surface of your spoon. When bare wood meets water, those tubes fill and the wood swells; as it dries, it shrinks again. Repeat that cycle often enough — a rinse, a soak, a spell in a damp drying rack — and the grain starts to separate. Oil fills the tubes instead, slowing the movement of water in and out of the wood so the shape stays stable.
Olive wood is dense, hard and beautifully figured, and a fresh piece holds a good deal of natural oil. But the blank that became your spatula was dried for months before it was carved, and much of that oil is long gone by the time it reaches your kitchen. Seasoning puts something back.
What oil does, and what it does not do
It is worth being clear about this, because disappointment usually comes from expecting too much. Oil does not seal wood the way varnish seals a table. It soaks in and leaves the surface smoother, more water-resistant and less prone to staining, and it darkens the grain to that deep honey colour olive wood is known for. It does not make a spoon dishwasher-proof, and it will not survive being left to soak in the sink overnight. Think of it as regular maintenance rather than a one-off treatment.
When to season a new utensil
Before the first use. Not after the first wash, not once it starts to look tired — before the spoon ever meets a saucepan. New wood is at its thirstiest, and a first coat now means every coat afterwards lasts longer.
After that, the schedule is simple: oil it once a week for the first month, then once a month, and any time it needs it. You do not need a calendar. Look at the wood. If the surface has gone pale and dull, if it feels dry or slightly rough under your fingertip, or if a splash of water soaks in instead of beading, it is asking for oil.
Which oil to use
Not every oil belongs on a spoon. The ones that work are the ones that either do not go rancid or harden as they dry.
- Food-grade mineral oil. Cheap, odourless, tasteless and completely stable. The default choice, and the one to pick if you are unsure.
- Flaxseed oil. A drying oil, so it sets rather than sits. Good for a harder finish, but it needs thin coats and proper drying time between them.
- Walnut oil. Pleasant to work with and it cures well. Skip it if anyone in the house has a nut allergy and use mineral oil instead.
- Beeswax and mineral oil balms. Less penetrating, but they leave a lovely satin finish. Useful as a final coat.
- Avoid cooking oils. Olive oil, sunflower, rapeseed and generic vegetable oil do not cure. Over time they turn sticky, then rancid, and leave a film that attracts dust and smells faintly off. Keep the olive oil for the salad.
How to season a spoon or spatula
Once you have your oil, the process is the same for spoons, spatulas, forks and boards.
- Wash and dry. Warm water, a drop of mild washing-up liquid, a good rinse. Then dry it properly with a cloth and leave it to air for an hour. Oil will not soak into damp wood.
- Warm the oil gently. Stand the bottle in a bowl of warm water for a few minutes. Warm oil is thinner and sinks in further. Never heat it on the hob.
- Apply along the grain. Put a small pool of oil on a lint-free cloth and work it in with the grain, not against it. Cover everything: both faces, the edges, the inside of the bowl, the tip of the handle, and the shoulders where the bowl meets the stem. Those last two are where cracks usually begin.
- Keep going until it stops drinking. Some pieces take two or three passes. When the wood looks evenly satin rather than patchy and dry, you are close.
- Let it rest. Stand the utensil upright on a rack or a clean cloth and leave it for several hours, ideally overnight.
- Wipe and buff. Any oil still sitting on the surface after that rest gets wiped off with a dry cloth. Buff until it feels dry to the touch, not tacky.
In the first week, repeat this twice. New wood drinks faster than you expect, and a couple of early coats save a lot of trouble later.
Everyday care that prevents cracking
Most split spoons are not the fault of the oil. They are the fault of water and heat, and both are easy to control.
- Wash by hand, in warm water, with a little mild soap. Rinse quickly.
- Dry with a towel straight away and put it away. Do not leave it in the drying rack over a damp sink.
- Never put olive wood in a dishwasher. The heat and the long wet cycle will open cracks that no amount of oil will close.
- Do not leave utensils soaking in the washing-up bowl, even for an hour.
- Keep them away from the hot edge of the hob, radiators and direct sun on a windowsill.
- If the surface feels rough, sand it lightly with fine grit paper, wipe off the dust and re-oil.
- For lingering onion or garlic smells, rub the wood with coarse salt and a wedge of lemon, rinse, dry and re-oil.
A routine worth keeping
Seasoning olive wood is not a project. It is ten minutes with a cloth and a bottle, once a month or so, plus a little care in between. Do it before the first use, top it up when the wood looks pale, and keep the utensils out of the dishwasher and the sink. Treated that way, an olive wood spoon does something no plastic or metal tool manages: it gets better looking as it ages, deepening to a warm amber and taking on its own patina of small marks from years of stirring. Look after it and it will outlast most of what is in your kitchen drawer.
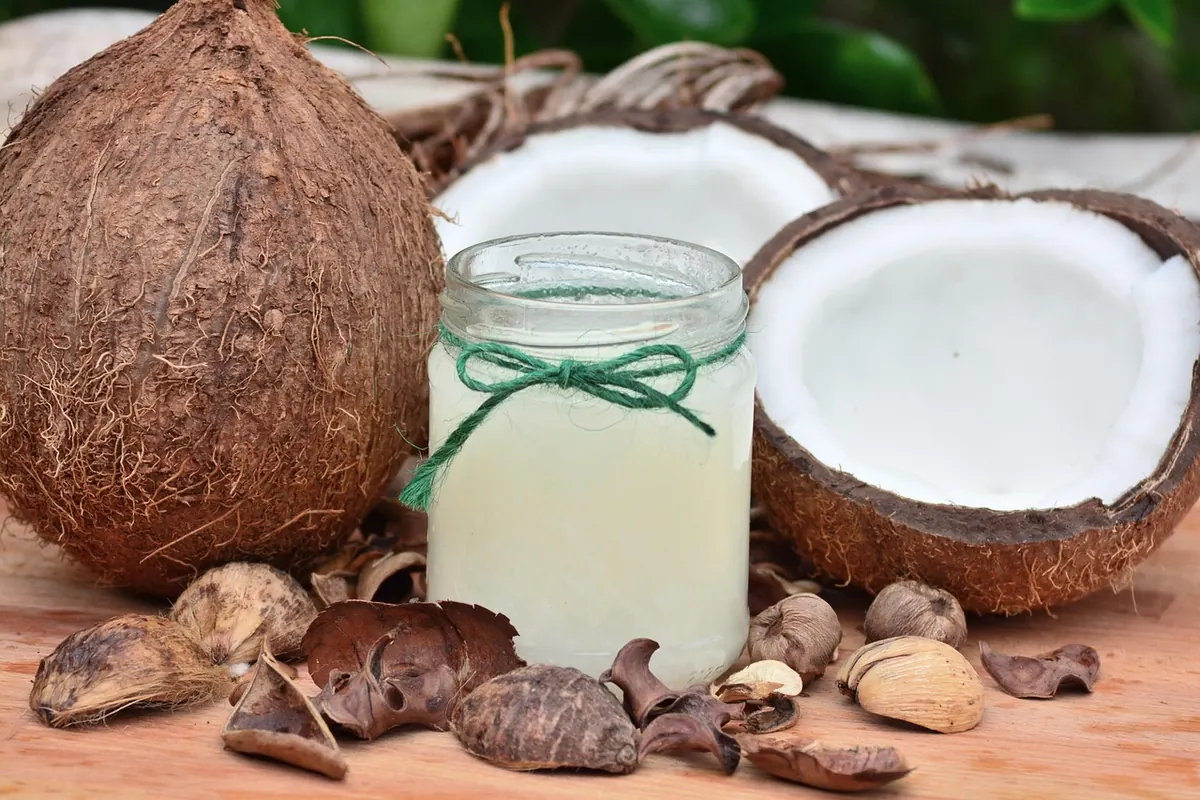
Photo: moho01 / Pixabay